Showing posts with label Recipes. Show all posts

Wednesday, January 19, 2011

About my long absence..and a recipe!

Hey everyone, it's Alexis. I haven't been doing much crafty stuff lately because my husband is going through some serious medical issues and my focus is on him and the kids. I have, however, gotten into freezer meals, and let me tell you, they're fabulous! I wish I'd discovered this years ago! I use the "Don't Panic, Dinner's in the Freezer" and "Don't Panic, More Dinner's in the Freezer" cook books, everything I've tried in them is fabulous! I recommend them to anyone and everyone. I change up the recipes a bit (mostly because I hate, hate, HATE chopping onions and I don't like big chunks of garlic either) and I've gotten some interest on facebook so I think I'll post some of the recipes I use, with the changes as well. HOWEVER, the cookbooks are like 8 or 9 dollars on Amazon, so I think you all should get your own eventually, I don't want to infringe on their copyrights. I did ten meals, all multiplied by three so that I don't have to do "real" cooking for five weeks while my husband is in leadership training for the military. I never know when he's going to get home and I don't want to go through all that work for just me and maybe the kids eating a little bit (does not happen often) so we went and bought a 7 cubic freezer chest from Sam's Club and a whole bunch of food and I spent this last three day weekend doing nothing but cooking. But oh how satisfying! I think it will really help on the whole watching what you're eating thing. Because who doesn't love a home cooked meal everynight? Duh, everyone! But who honestly has the time and/or energy to do it every night? If you raised your hand, you should come live at my house! ha ha!
This is the meal we ate last night. It was FABULOUS, and guess what? My two year old AND my 10 month old both LOVED it too! Winner!!
Baked Penne with Sausage, Tomatoes and Cheese
       x3
       x6
      x9
1 lb. Uncooked penne pasta
3 lbs
6 lbs
9 lbs
1 lb. Hot Italian sausage
3 lbs
6 lbs
9 lbs
1 cup chopped onion
3c
6c
9c
2 garlic cloves, minced
6
12
18
8 oz. Tomato paste
24oz
48oz
72oz
8 oz. Tomato sauce
24oz
48oz
72oz
1/4 t. salt
3/4t
1 1/2t
2 1/4t
1/4 t. black pepper
3/4t
1 1/2t
2 1/4t
2-14 oz. Cans diced tomatoes, undrained
6
12
18
1/4 cup fresh basil, chopped
3/4c
1 1/2c
2 1/4c
1 cup fresh mozzarella cheese, shredded
3c
6c
9c
1 cup fresh parmesan cheese, grated
3c
6c
9c
I cup Italian fontal cheese, grated
3c
6c
9c


Original Recipe Yield
12 Servings
Cooking Day
Cook pasta according to package directions, omitting salt and oil. Drain pasta and set aside. Remove casings form sausage. Cook sausage, onion and garlic in a large, nonstick skillet over medium heat until browned, stirring to crumble. Drain. Add tomato paste, tomato sauce, salt, pepper, and tomatoes; bring to a boil. Cover, reduce heat, and simmer 10 minutes, stirring occasionally. Combine cooked pasta, sausage mixture, and basil. Place half of the pasta mixture in a lined 9x13 baking dish. Top with half of each cheese. Repeat layers. Freeze, using foil and plastic wrap method.
Serving Day
Return unwrapped meal to original baking dish. Thaw slightly. Bake in a preheated 350 degree oven for 25 minutes or until bubbly. (I need to put this note up here too. You do need to thaw it out completely OR cook for about an hour, I just found out this little tidbit last night lol!)

*Notes from Alexis:  I multiplied it by three and I used dried minced onion (so nowhere near three cups) and granulated garlic. Mostly I sprinkled and mixed until it smelled good. I also used a summer sausage (because it’s already cooked) I diced it up really small and cooked it just a bit with the onion and garlic to bring out the flavor. I didn’t have fresh parmesan, so I just used the regular stuff that you can buy off the shelf (although fresh would be amazing) and I had no idea what Italian frontal cheese is, or where to find it. So I used mozzarella, parmesan, and provolone instead. Remember that the worded directions are for only one recipe and you need to divide by however many you’re multiplying by. The foil and wrap method is lining your pan with foil (enough to go all the way around the pasta, since you’ll be folding it over your food) and then a layer of saran wrap, same size if not a little bigger. Remember when you’re using saran wrap your meal; things need to be mostly cooled before you can put it on the wrap. Wrap up your meal tightly with the saran wrap. The goal is to make it air tight to prevent freezer burn. Then wrap the foil the same way.  Put it in the freezer, pan and all, and let it freeze for a few hours. Then you can take it out of the pan and it will keep it’s shape. Makes it nice for stacking too. :D It’s called the flash freeze method. One more note on this particular recipe, you really do need to thaw it out mostly if not all the way. I followed the recipe and it took about an hour to cook all the way though. So just keep that in mind. Enjoy cooking everyone! And definately be expecting to hear from me more often. She's baaaaack! And I'll try to get Bree to get her happy butt on here too. I know SHE'S been crafting up a storm down there in Washington.

Thursday, October 28, 2010

Mongolian yumminess

Okay, so back home there was this little family owned restaraunt called "Mongolian Buffet". What you did was put all sorts of meet and veggies, then noodles and sauces in a bowl and they grilled it over a flat round hot plate with sticks (it goes back to the guys in the Mongolian army cooking their food on their shields with their swords) or so the story says. Anyway, it's delish and I must've eaten there at least once a week since it was very close to where I worked right out of high school. Then I move up here and I haven't found anything remotely like it SO I kind of came up with my own version. So bear with me, I kinda just threw stuff in, and there are no measurments for the sauces, I just covered whatever I was cooking. I did take lots of pictures though so hopefully that will help. So enjoy my all original Mongolian Grill Yumminess (and yes, that's the official name lol! :P)

What you need:
Fresh carrots, sliced
Fresh celery, also sliced
I like snow peas
and a green bell pepper, diced
I used 2 lbs of thinly sliced beef
4 packet ramen noodles, no broth
teryaki sauce
soy sauce
lemon juice (optional)
worsheshire sauce (optional)
Chop up your veggies, this takes the most amount of time and you don't want to be worrying about burning your meat so just do it first.

 This is the meat, it's a thinly sliced beef.
 Close up on the type of meat. It just makes a nice meat for your dish. Cut the strips of meat into about 2 inch strips.
 Put about a tablespoon or two in a pan (I use a flat bottomed wok, I got it at IKEA) when your pan is hot, cook your meat. Drain juices.

 Add your fresh veggies, then pour in some teriyaki sauce and some soy sauce. The meat and veggies will suck up the juices so you're going to end up adding more as things look dry. You want a lot of juice for when you add noodles so don't be afraid to just dump it on. I also add lemon juice, but that's just me. :D
 Let your veggies cook down so they're softer.
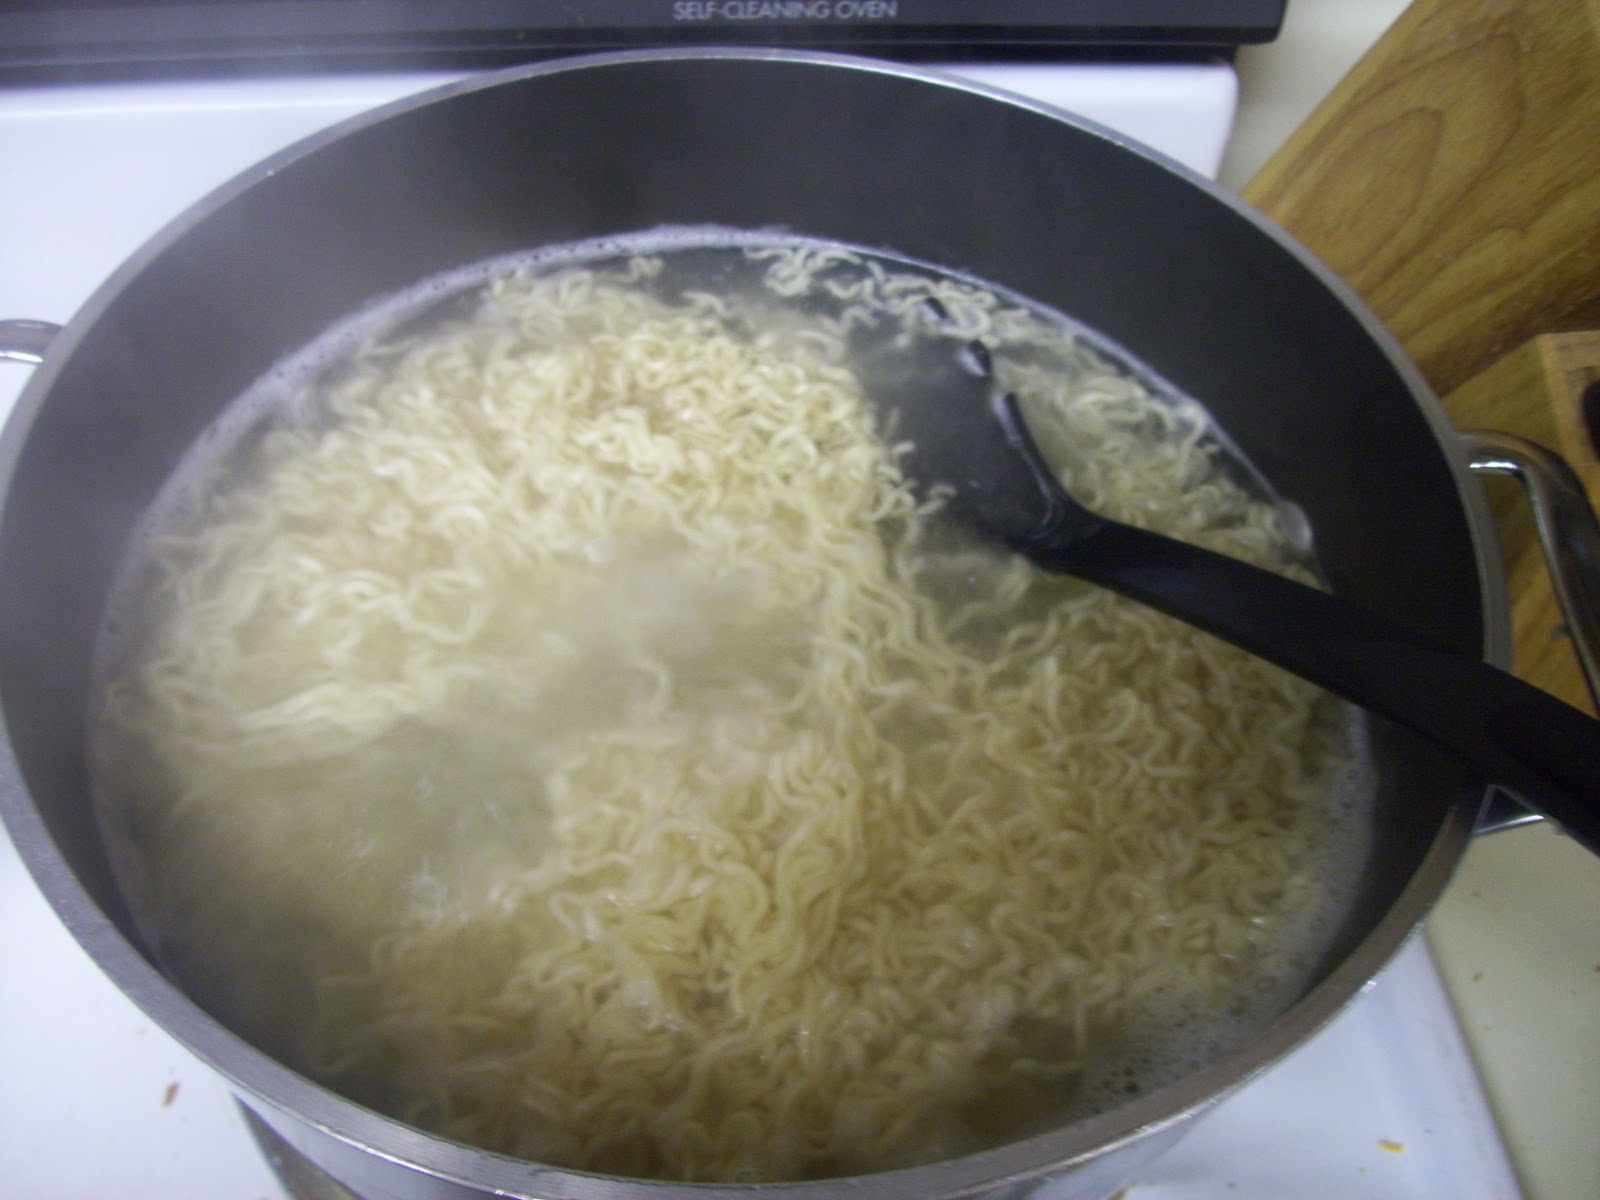
 As your veggies are cooking down, prepare your noodles (I used 4 packs of ramen noodle WITHOUT the broth) The noodles with absorb your sauce in the wok so you don't need the broth.
 Add your noodles, I also added a can of that oriental baby corn and water chestnuts. They don't need to cook long since they're canned. Add more soy and teriyaki sauce. I also put another dash of lemon juice and some worschershire sauce. Add sauces that you think will make it taste good. Remember, if it smells good, chances are it will taste good.
Eat and enjoy! Yum!
~A~

Saturday, October 9, 2010

Creamy Chicken Toquitos

Okay, so, my husband LOVES mexican food. So I'm always looking for new, fabulous recipes so they don't get old and overused (you know what I mean, right?) so I was given a link for ourbestbites.com for an icing recipe (ALSO fabulous) and started poking around. I have a whole list of recipes I want to try from them. Anyway, this was supposed to be toquitos, you know, little rolls, but I'm not so good at that, so they ended up being yummy burritos. And I didn't have some of the ingredients on hand so it's a bit different, but yummy! I made a lot and they were lunches for hubby for about 4 days. So I'll post the original recipe, then tell you what I did differently.
"
1/3 C (3 oz) cream cheese
1/4 C green salsa
1T fresh lime juice
1/2 t cumin
1 t chili powder
1/2 t onion powder
1/4 t granulated garlic, or garlic powder
3 T chopped cilantro
2 T sliced green onions
2 C shredded cooked chicken (for extra yumminess, use grilled taco chicken!)
1 C grated pepperjack cheese

small corn tortillas (and actually, flour ones are really good as well)
kosher salt
cooking spray
"
Okay, so I didn't have green onions, onion powder or green salsa (actually, I hadn't even HEARD of that, am I just dumb?) so I used a little can of chopped green chilies instead.
Preheat your oven to 425, put 2 or three tbsp of the mixture on a tortilla
 Roll it up and then lightly spray with Pam
Bake for 15-20 minutes. A tip that was one "ourbestbites" was to take a few tortillas (I used five) and have a damp paper towel on a plate, put your tortillas on, and put another damp tortilla on top. Microwave for about 40 seconds. Then they don't crack and unoll. Enjoy!
~A~